Did you lock the door today?
Let me ask again: did you lock the door today?
Are you sure you do not want to go back and check?
…
Welcome back. After few times waking up and finding the apartment door unlocked, I decided to do something to save myself from my carelessness. The idea is simple: building a locked door detection system that notifies me every time I forget to lock my door. A lovely schematics soon appeared on my napkin (or draw.io):

A magnet is attached to the end of the deadbolt of my door lock. Inside the strike box is a hall effect sensor which detects the distance from the magnet. A micro-controller gathers the reading from the hall effect sensor, so now it knows whether the door is locked or not. If the door is not locked, the micro-controller would send a notification to my phone. Since there is no power socket near the door, I am going to power the micro-controller by a chargeable battery.
What a smart idea! As I submerged in my self-pride, a thread on a micro-controller community rescued me from drowning:
Well, it seems someone brought the idea to table back in 2014…
Anyway, I am going to build it, in a 2016 way.
Bill of Material
. Magnet tape
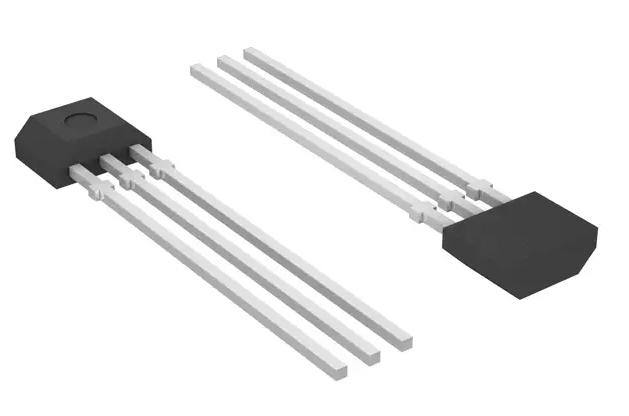
. Hall effect sensor – Notice that as of today (08/03/2016) the only hall effect sensor on Sparkfun is a latching hall effect sensor (US1881) which is good for determining the polarity of a magnet but not the magnitude of magnetic field (which indicates the distance from magnet). I bought A1324LUA-T which is a linear hall effect sensor. As described by its datasheet, “the presence of a south-polarity magnetic field perpendicular to the branded surface of the package increases the output voltage from its quiescent value toward the supply voltage rail. The amount of the output voltage increase is proportional to the magnitude of the magnetic field applied. Conversely, the application of a north polarity field will decrease the output voltage from its quiescent value.” In short, if the south end of the magnet is always facing the sensor, as the distance between them decreases, the output voltage increases, and vice versa.
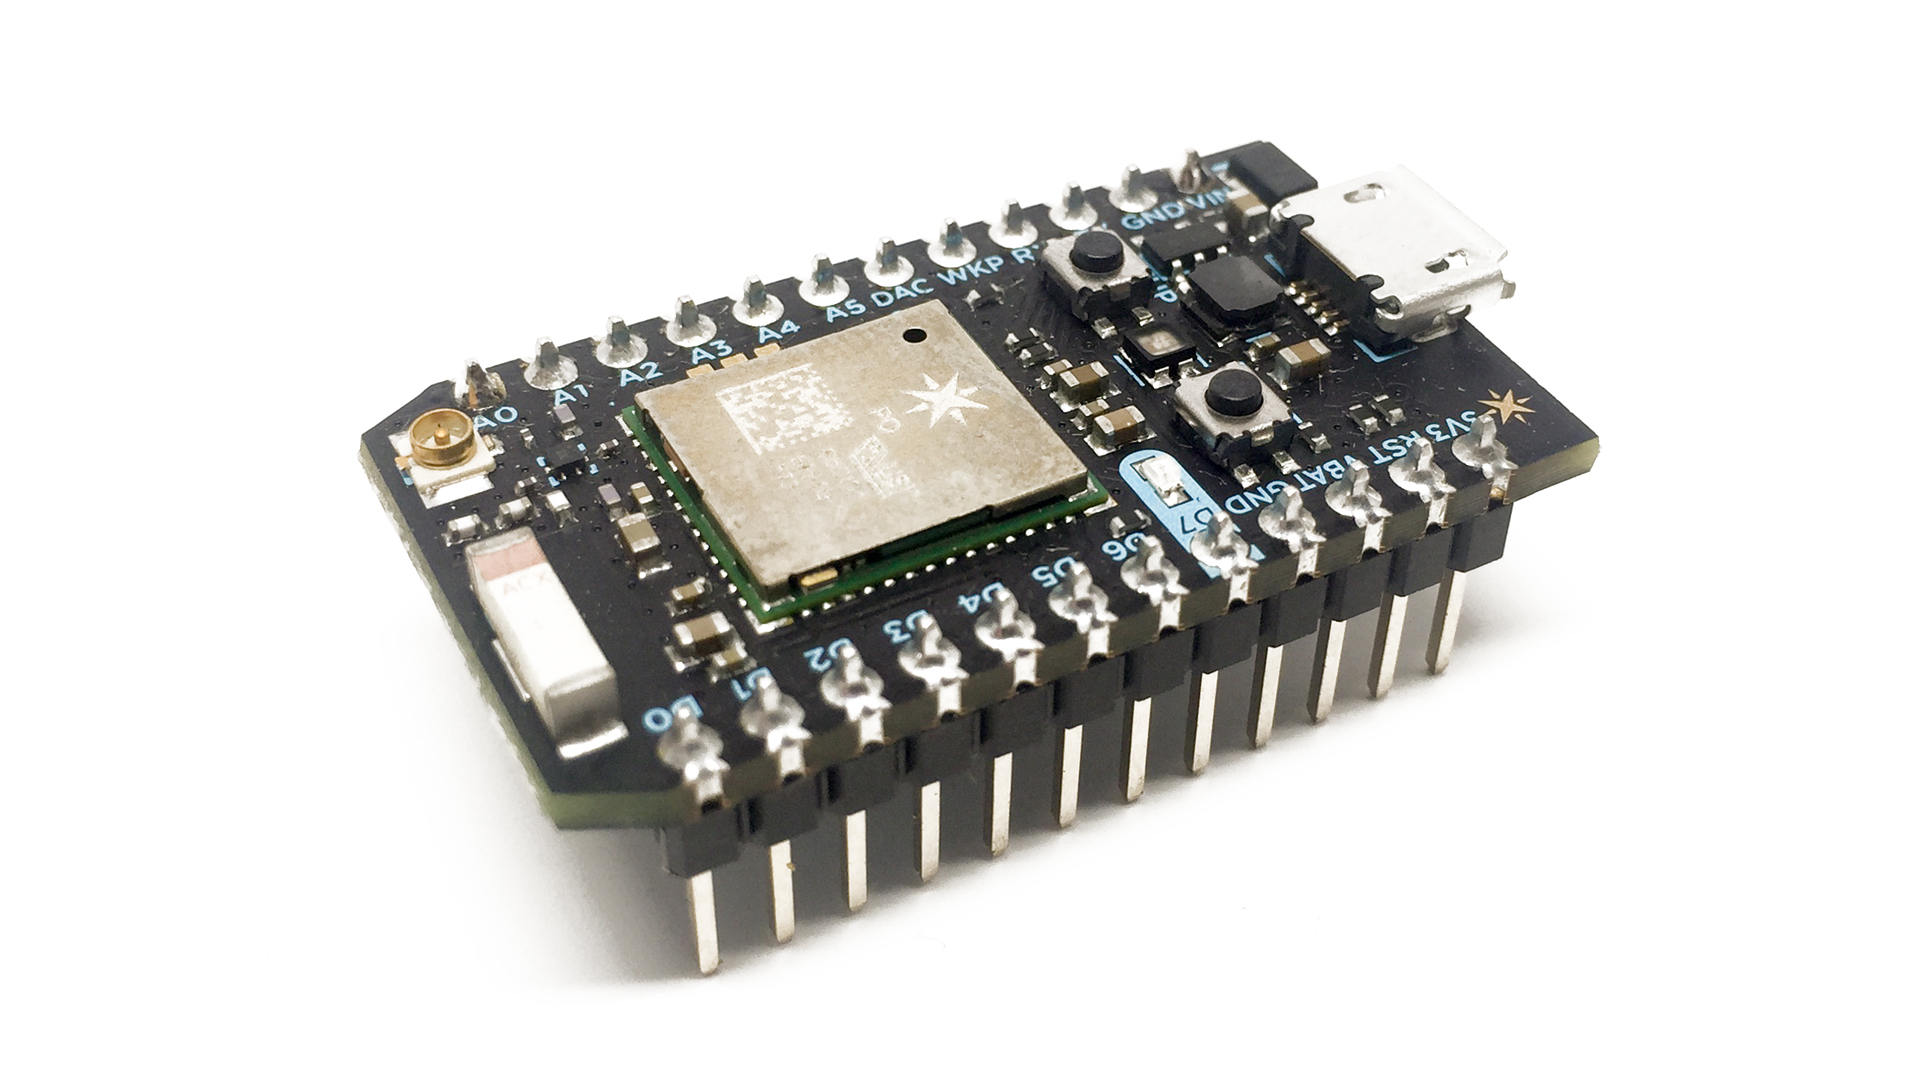
. Micro-controller – Almost any major micro-controller can do the job, but for this project I am using Particle Photon because it has a built-in Wi-Fi module and easy-to-use cloud IDE, which is perfect to meet the design requirements.
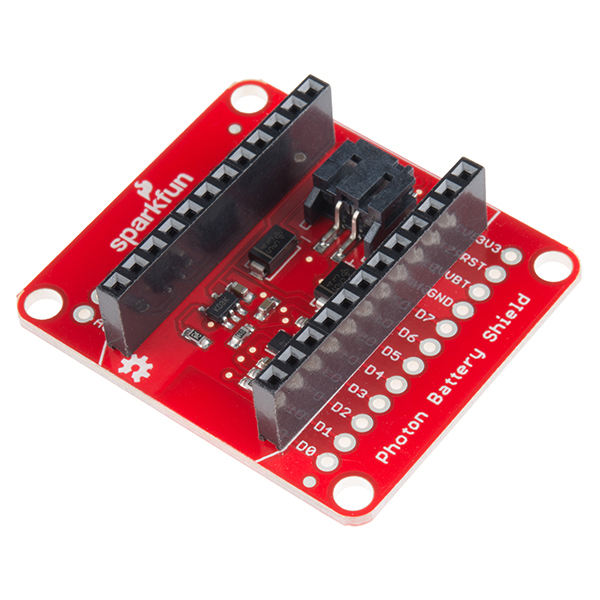
. SparkFun Photon battery shield – Optional, as long as you know how to power Photon with a battery and how to charge the battery, you are good to go. I choose to use the battery shield just to make life easier.
. Li-ion battery – I bought a 2000mAh battery with JST cable. When it comes to battery, bigger is better.
. Fastener tape/Double-sided tape
. Wires
The total cost is around $50, depending on how many tech-savvy friends you have.
Wire them up
As shown in the schematic above, the wiring is very simple. Here is the step-by-step recipe:
- Set up the Photon. Here is the detailed instruction.
- Mount the Photon on the battery shield.
- Put a hall effect sensor on a table with the branded side—the uneven side—facing up. Connect the leftmost pin to the 3V3 pin on the Photon, the center pin to the GND, the rightmost pin to the A0.
- Cut a small piece of magnet tape and paste it on the end side of the deadbolt.
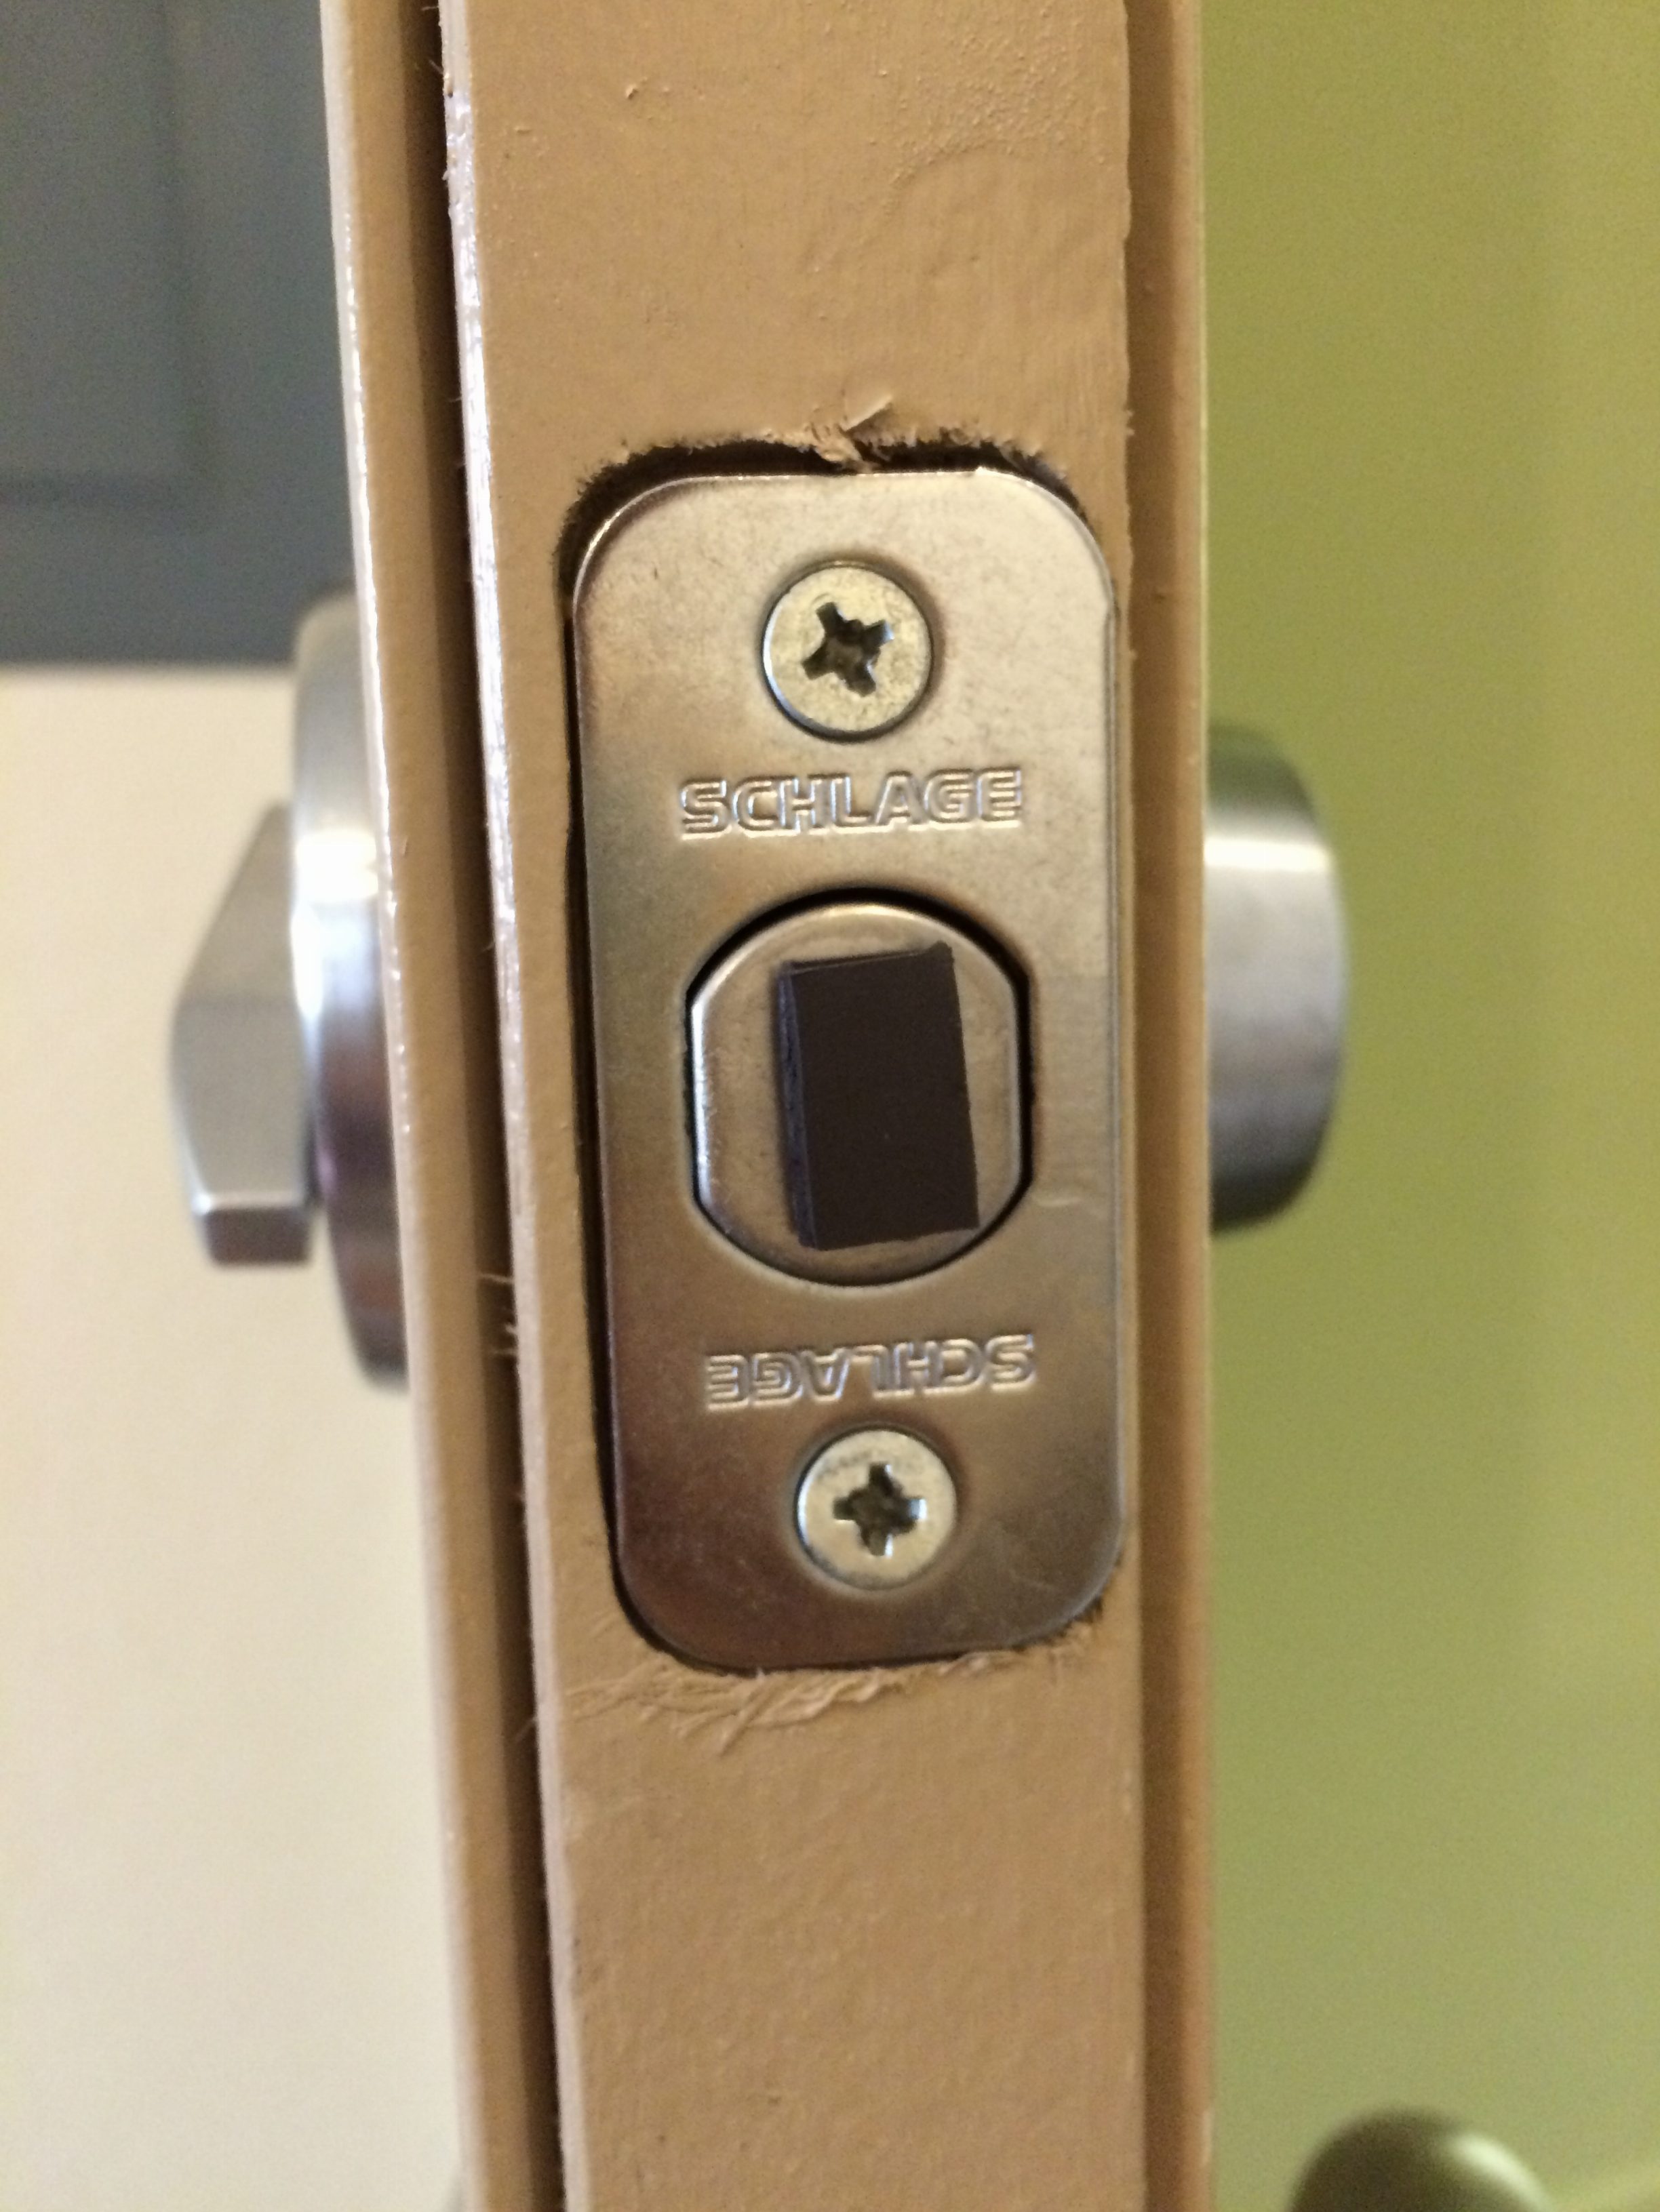
- Stick one part of a fastener tape on the inside wall of the strike box. Put the other part on the back of hall effect sensor. Press two parts of the fastener tape together. I bent the sensor legs to fit the wires in the strike box.
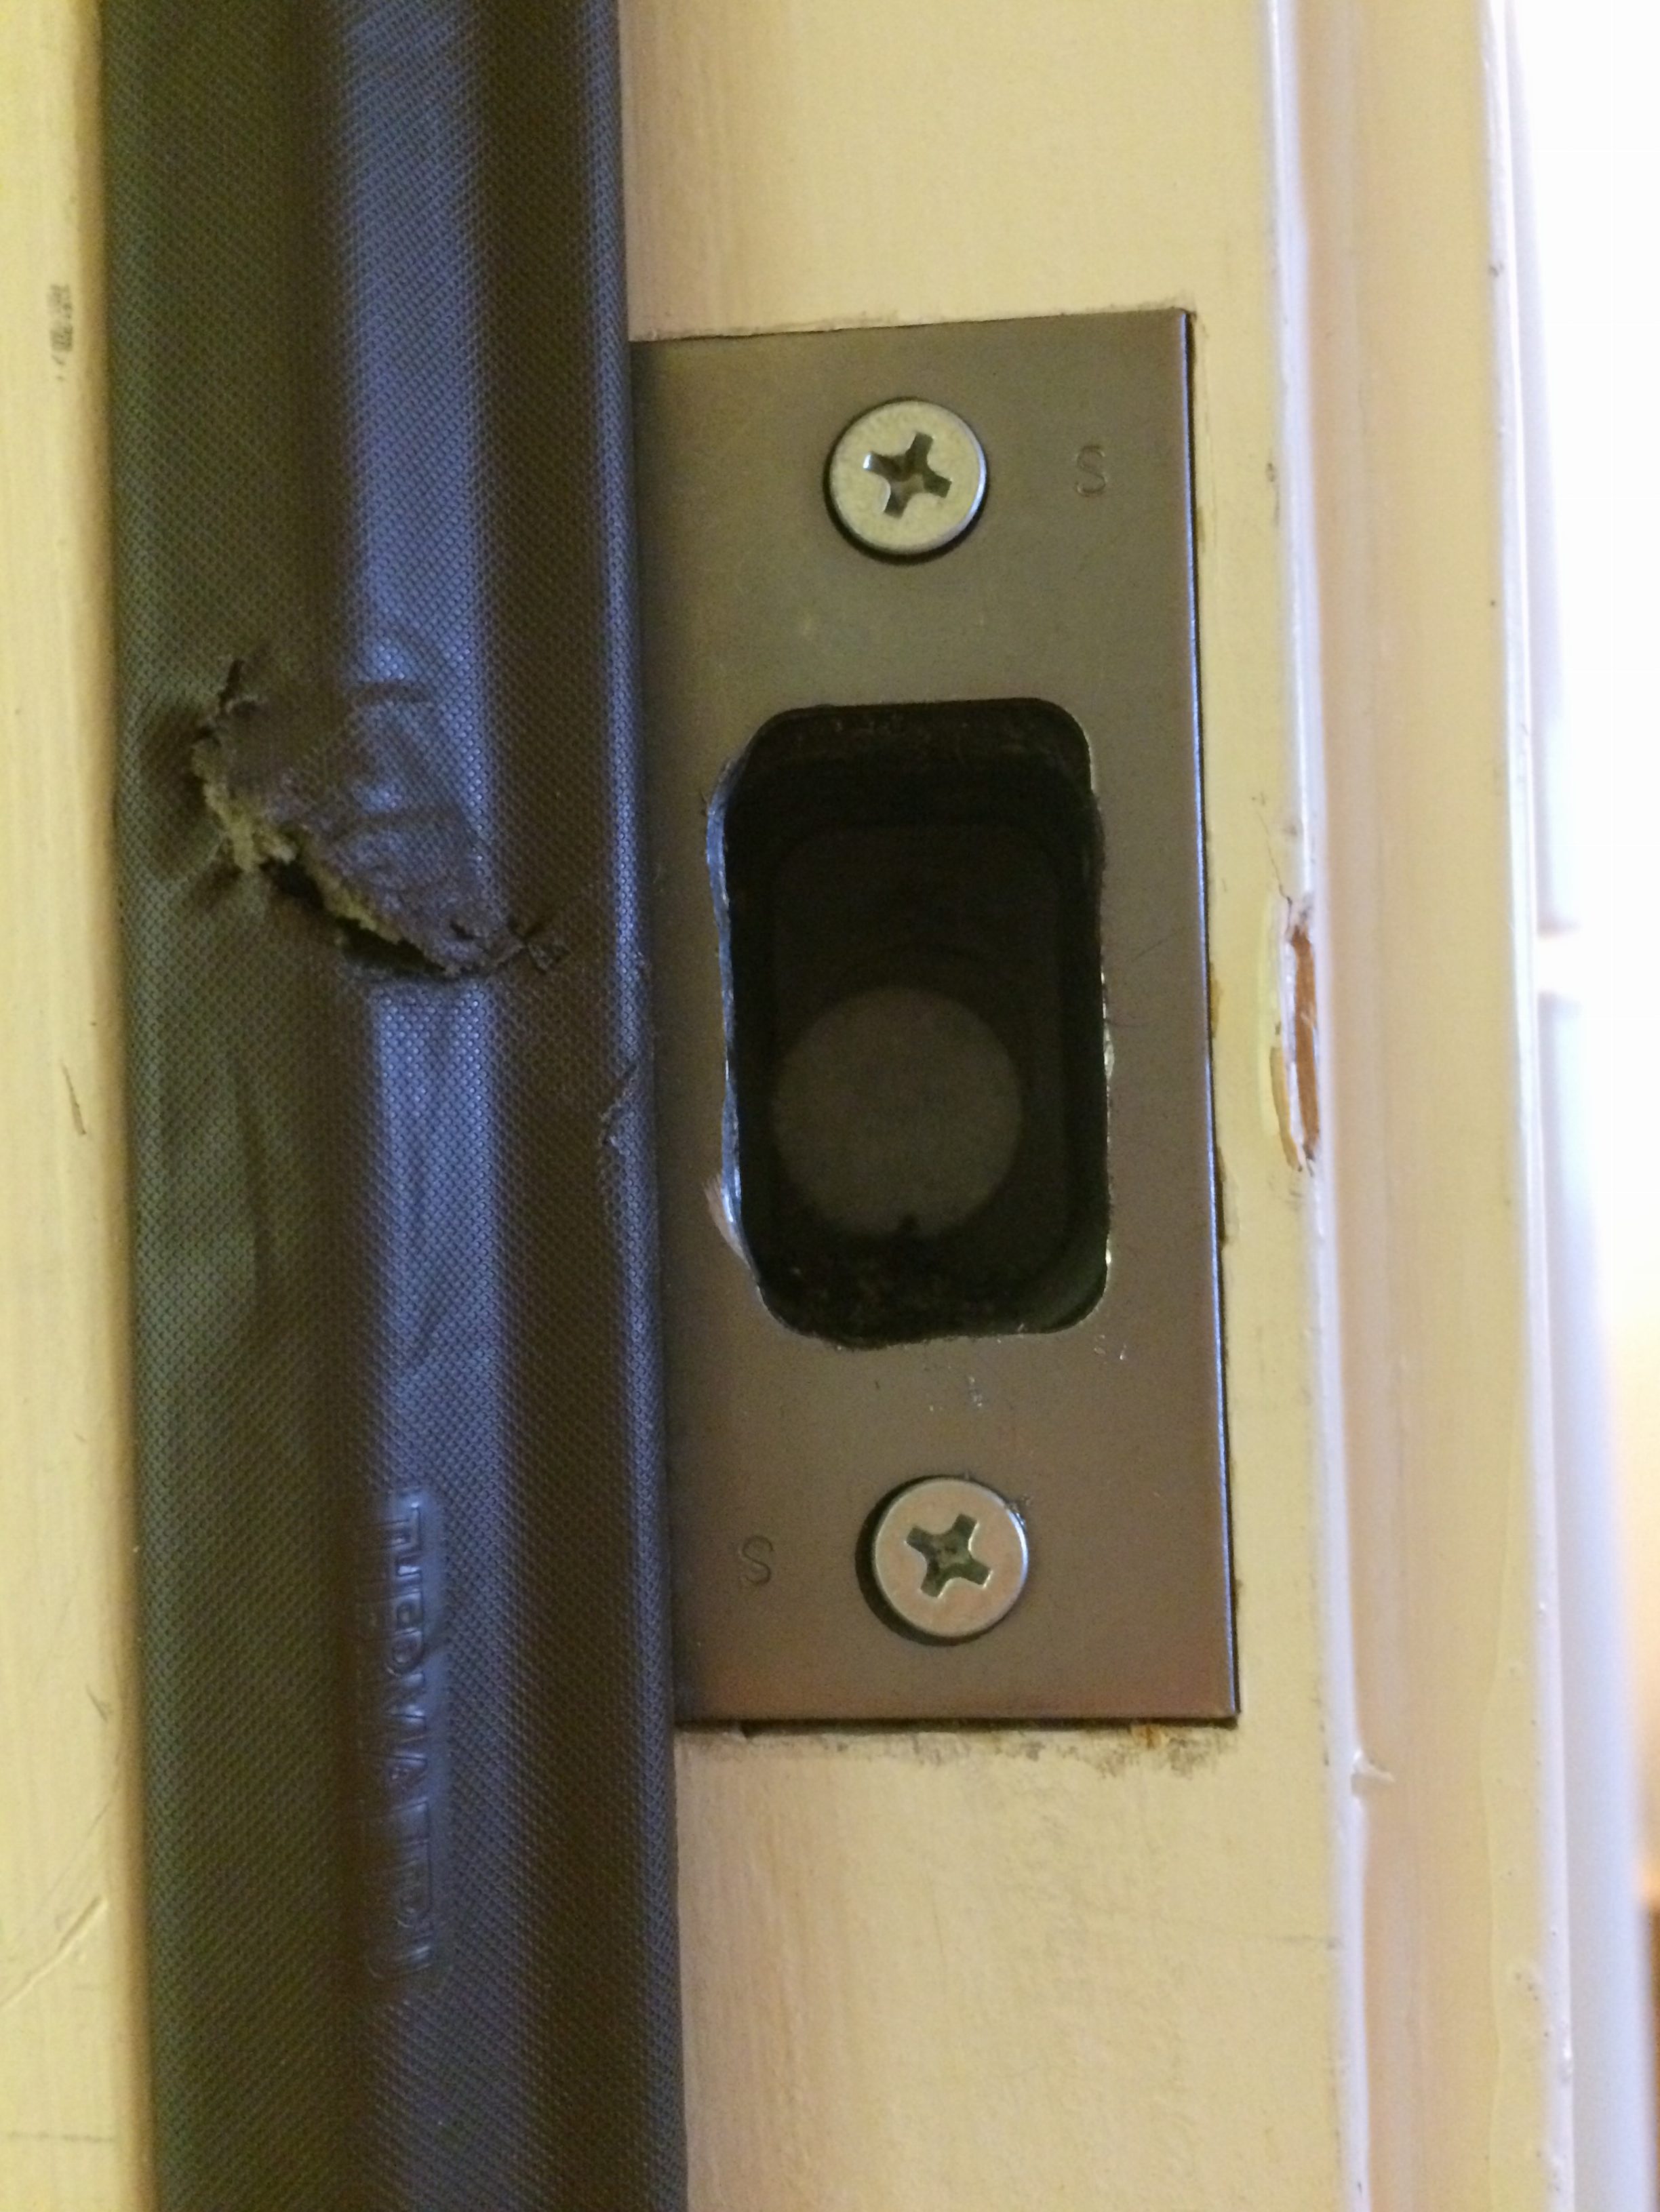
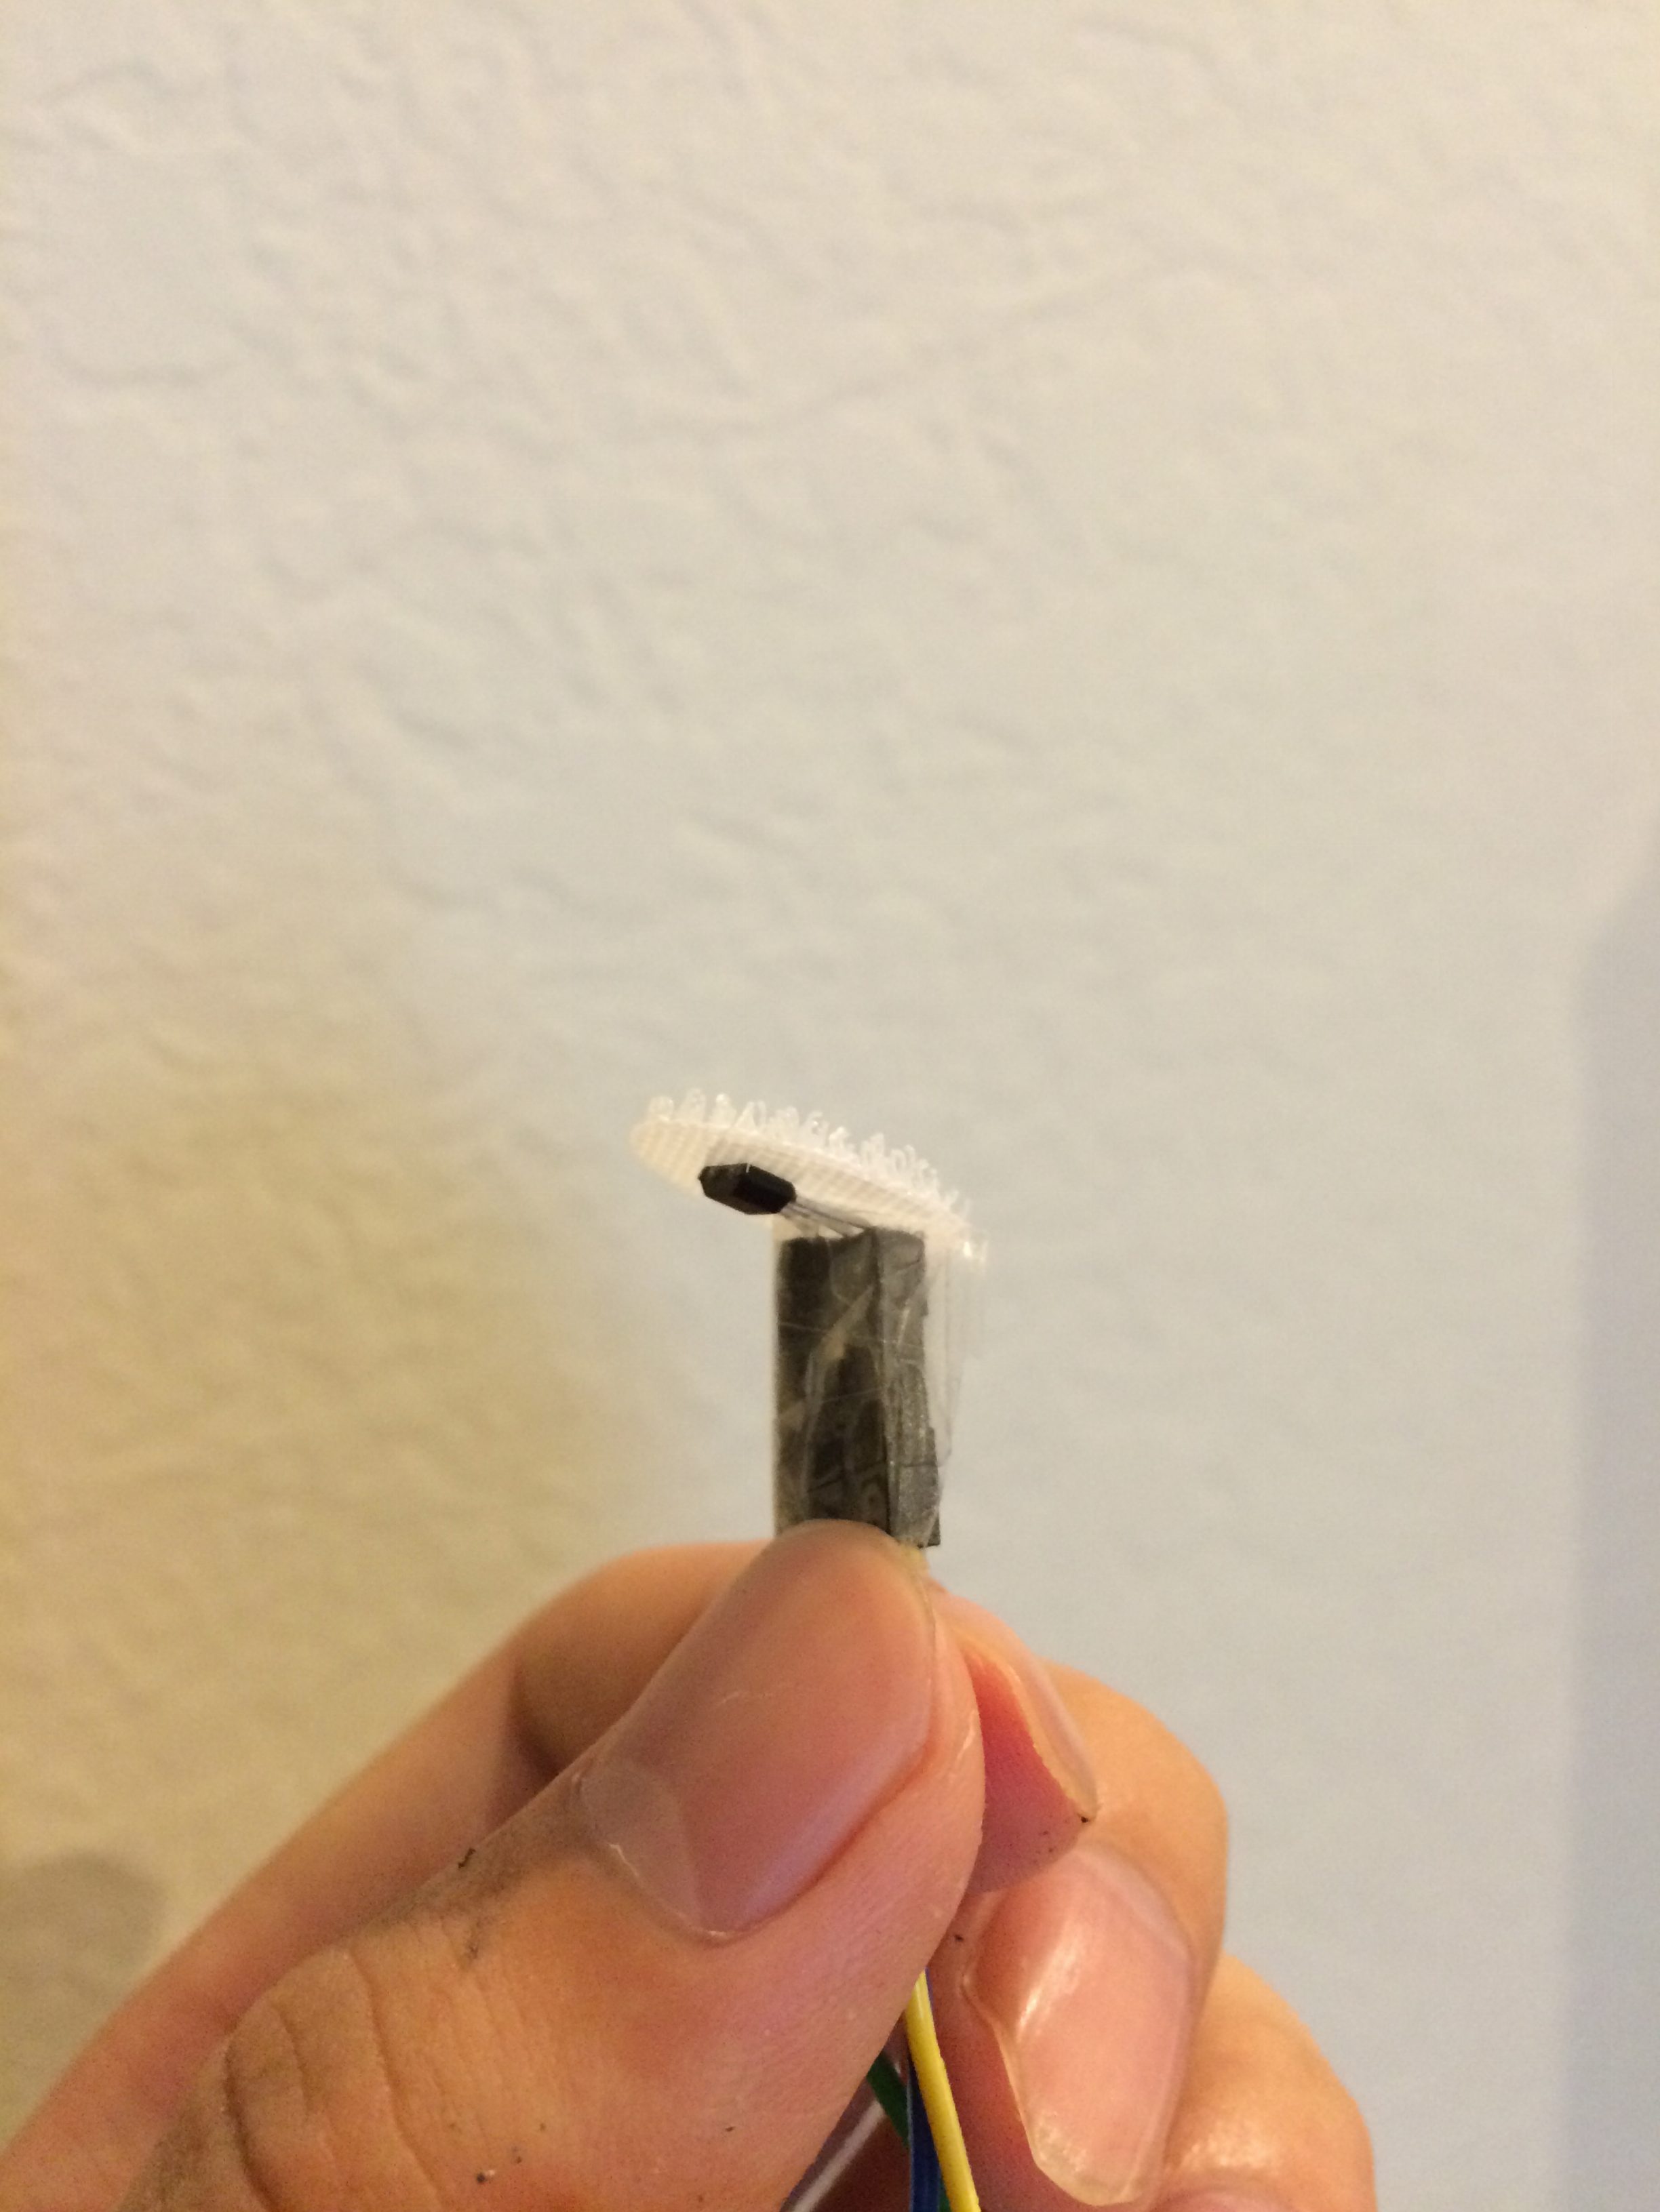
- Plug the battery in the battery shield. Done.
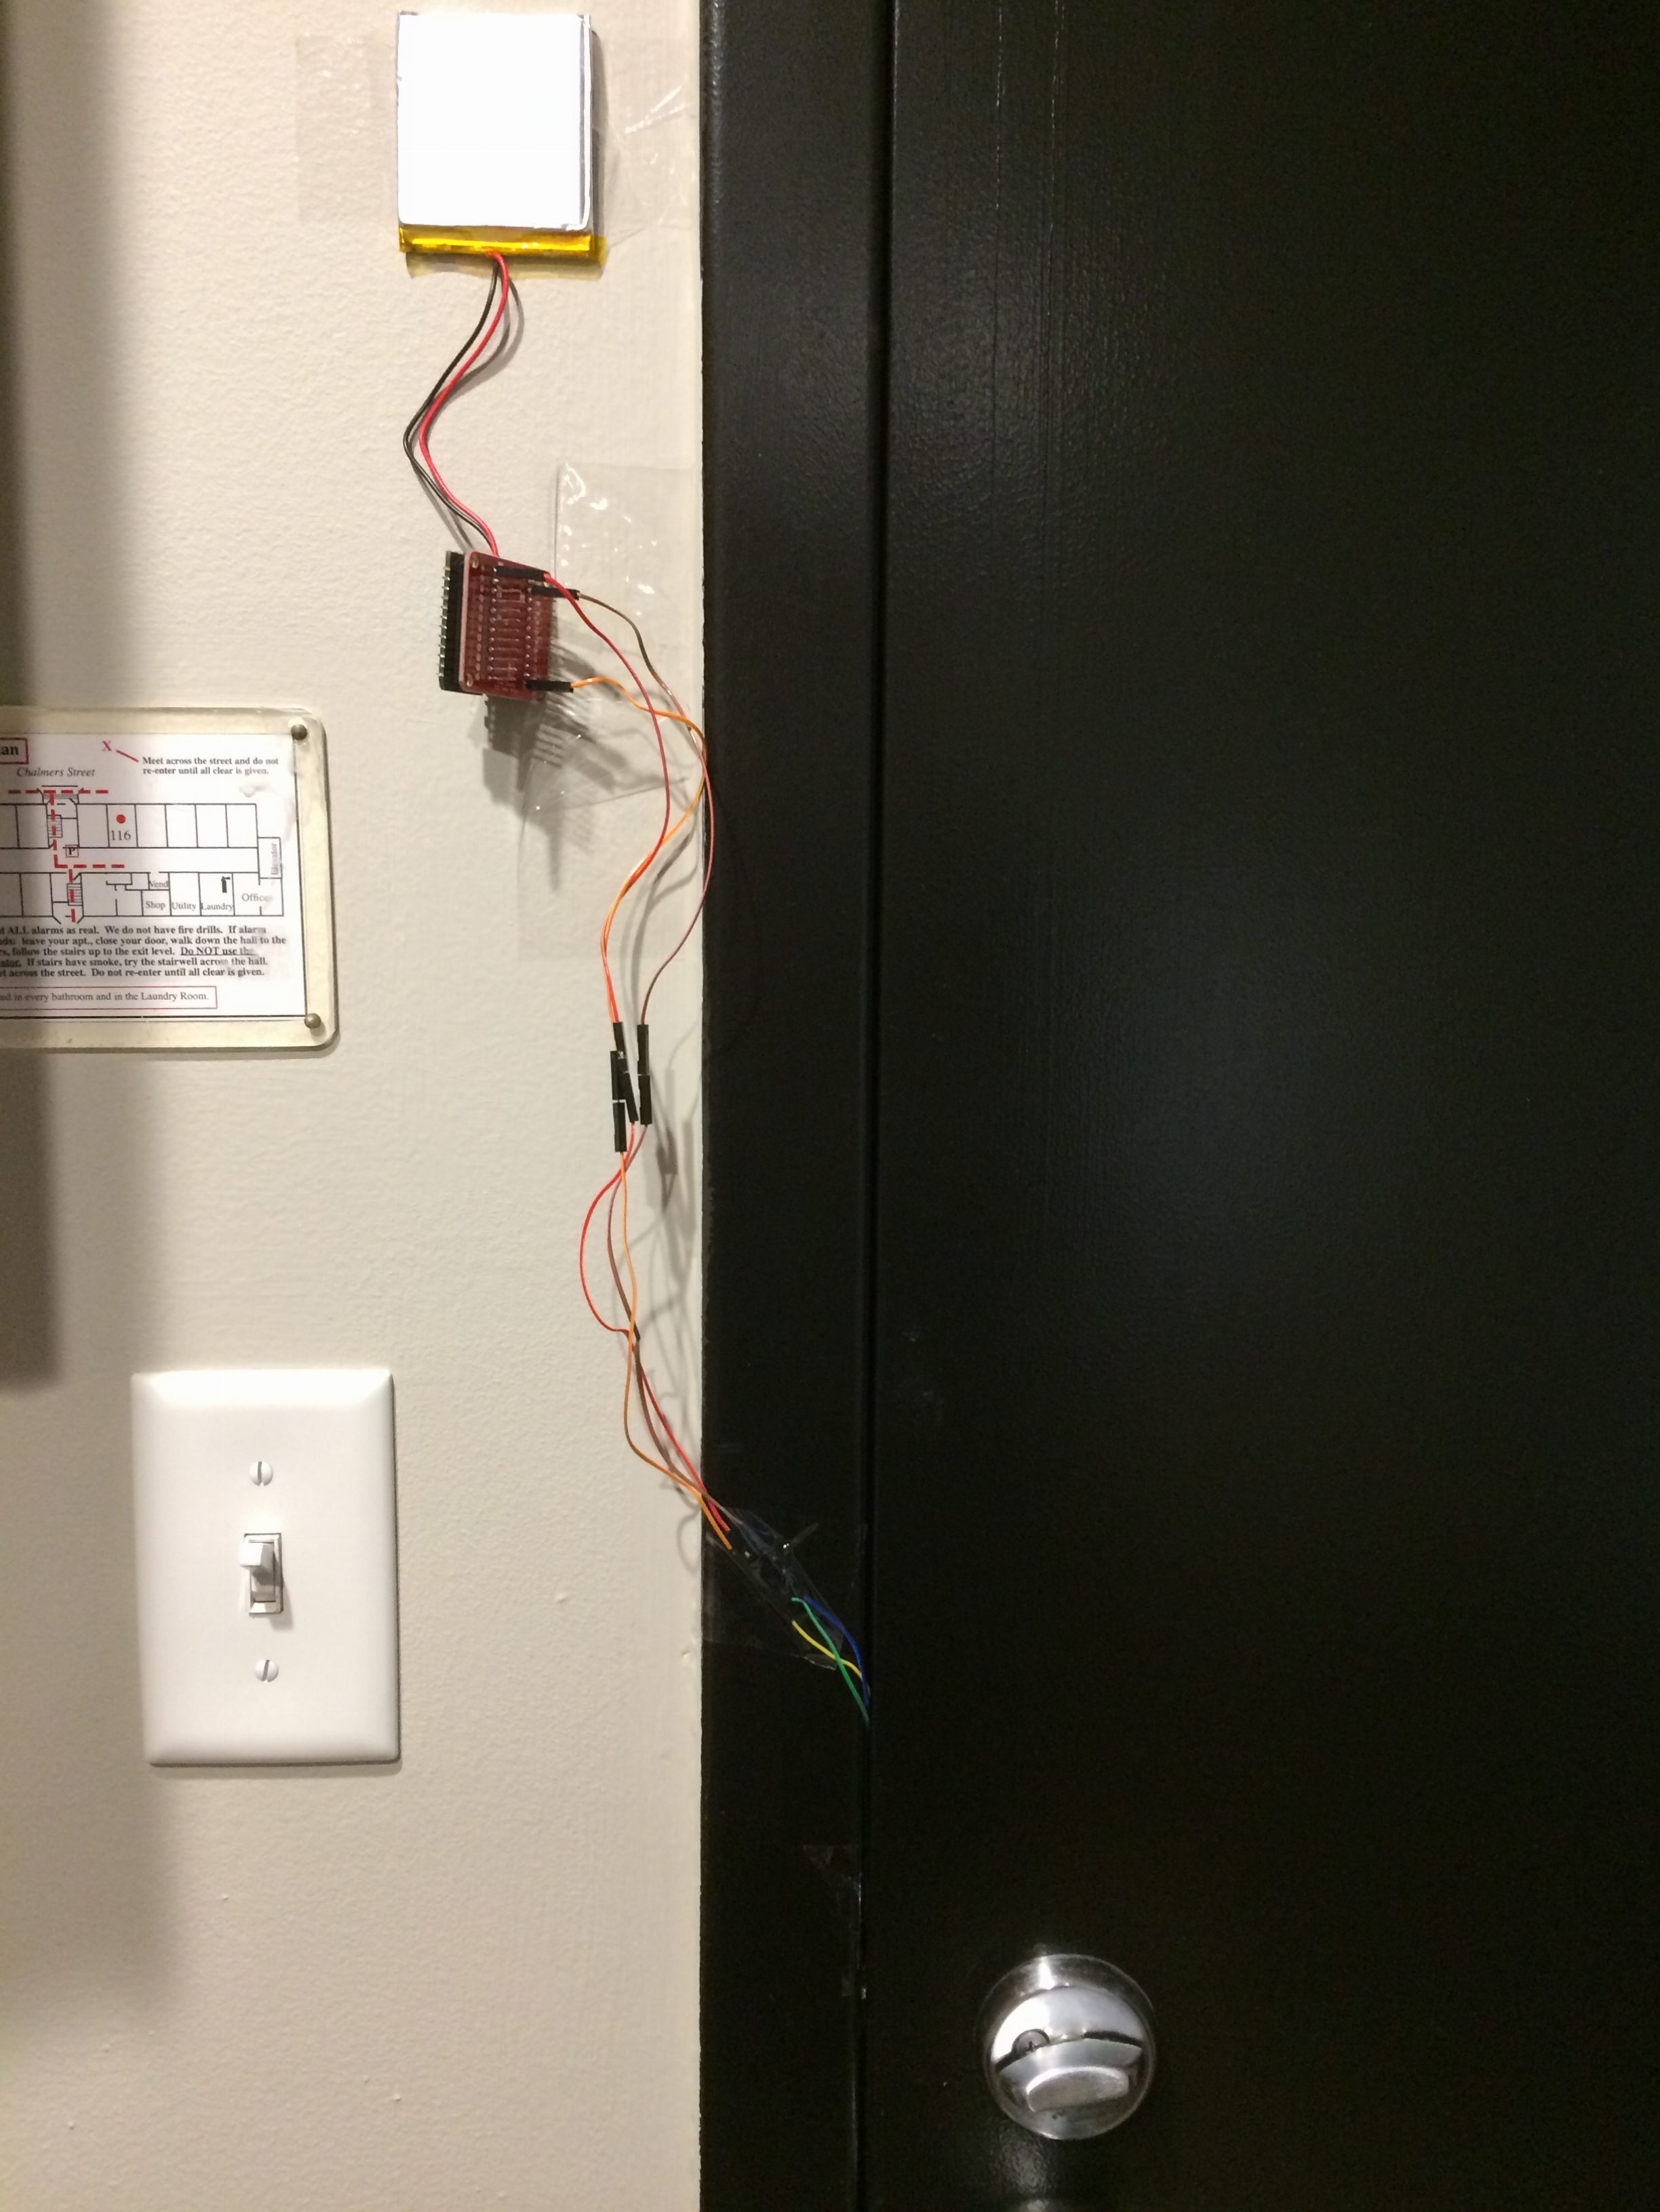
I ended up getting this on my wall:
I moved to a new apartment when I was building this, so the door in this picture is different from that in others. One thing you can learn from this picture is that tape is real helpful 😛 . I am going to design a housing for this system and 3D print it out. Hopefully few weeks later I will not have this mess on my wall.
A Little Test
To compare the reading of the hall effect sensor when the door is locked to that when the door is unlocked, I flashed the Photon with Tinker and set pin A0 to “analogRead”. When the door is unlocked, the reading is around 2030, and when the door is locked, the reading is nearly 0. The difference in readings is significant enough, time to move on!
Coding Time
Not a big fan of coding? No problem. Feel free to copy and paste the code below.
Start with Particle IDE. Create a new app and give it a cool name. The code below will do the magic.
void setup() {
 pinMode(A0, INPUT); // set pin A0 as input
}

void loop() {
 int starttime = 0;
 int realtime = 0;
 int notification = 0;

 while (1) {
 int val = analogRead(A0); // get reading from A0, and store the value in val
 if (val > 1900) { // when door is unlocked
 if (starttime == 0) { // if door is just unlocked
 starttime = Time.now(); // starttime is the time when door is unlocked
 } else {
 realtime = Time.now(); // realtime is the time now
 if ((realtime - starttime) > 10 && notification == 0) { // if door has been unlocked for more than 10 seconds
 Particle.publish( "unlockedDoor" ); // event "unlockedDoor" is published to Particle cloud
 notification = 1; // notification has been sent
 }
 }
 } else {
 starttime = 0;
 notification = 0;
 }
 delay(500); // loop every 0.5 seconds
 }
}
What does it do? Every time when the door is unlocked, the Photon starts to count for 10 seconds. If the door is not locked within the 10 seconds, an event called “unlockedDoor” will be published to Particle cloud.
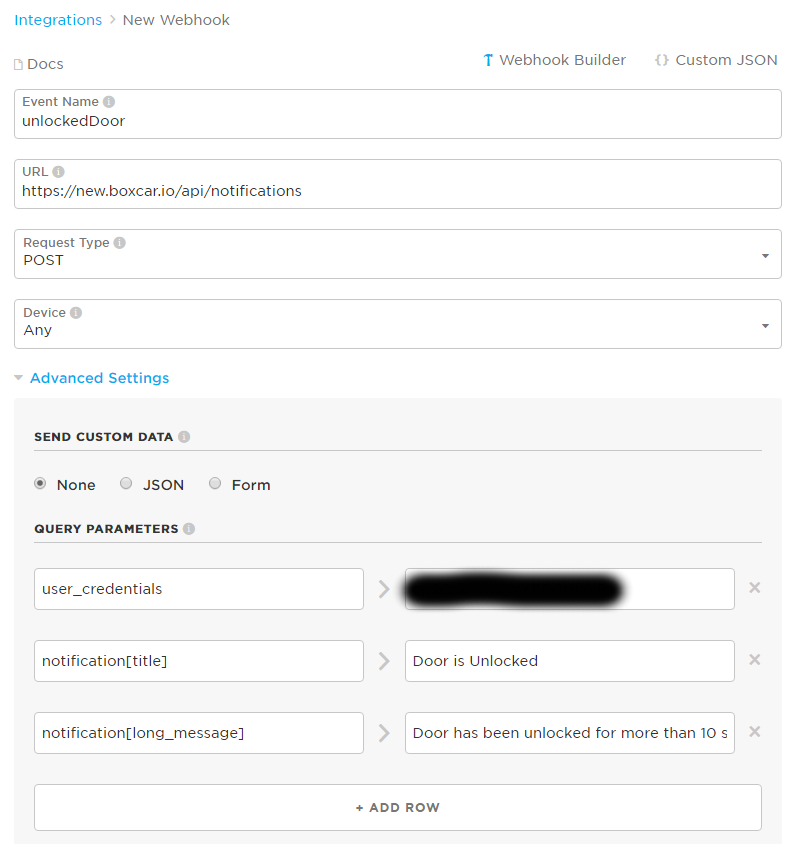
I do not want to look at Particle console 24/7 and wait for the event to appear. Instead, I want Particle to notify me when it sees the event. on my iPhone there is an app called Boxcar which is able to push notification. If somehow I can let Particle call Boxcar API… Introducing Webhook. Webhook can be created in Particle online console under “Integrations”. The setup should look like this:
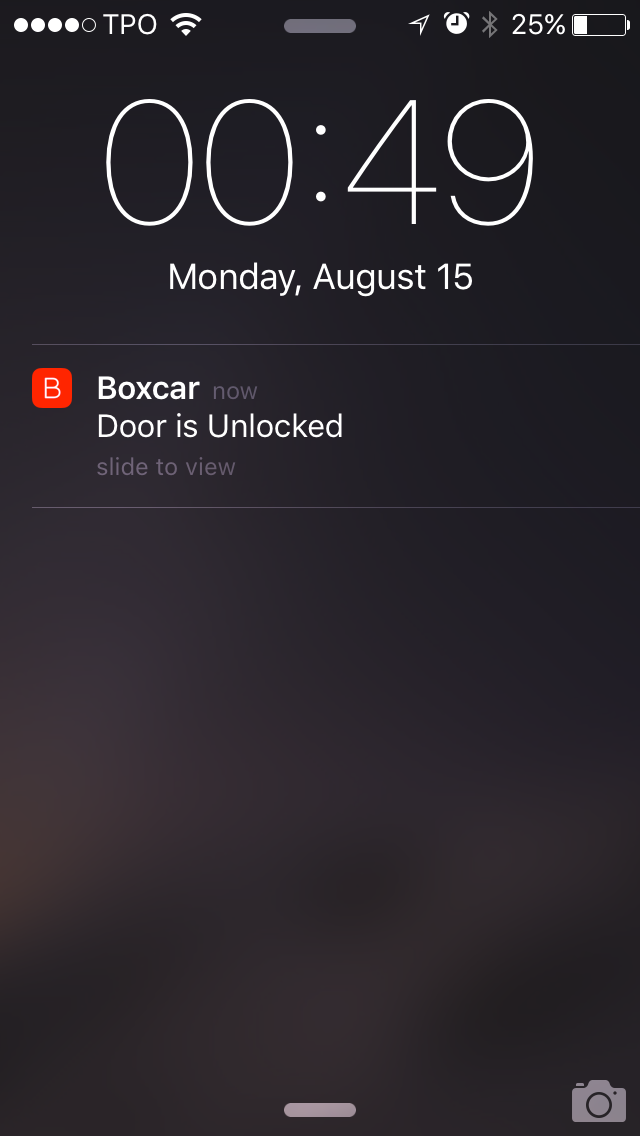
Tada! Now if I forget to lock my door, this appears on my phone:
[qrcode]



Great idea!
1. I cannot quite make out from the pictures how you fit the Hall effect detector inside the strike box (a.k.a. keep). I wonder if it would actually be close enough on the outside of the doorframe.
2. I guess more would be needed for a multi point locking system that engages the deadbolt by lifting the handle but still needs the key to be turned to lock it.
You set me thinking though!
Hey Andrew, thanks for the comment!
1. Not a great photographer myself and I admit the pictures are not quite straightforward. Basically what I did with the Hall effect sensor was that I glued it to one half of a Velro tape and glue the other half of the Velro tape inside keep. The setup was mainly for easy removal/debug of the sensor, you can glue the sensor directly to the bottom of the keep with no issue. The depth of a keep varies from door to door so you might have a door with deep keep. What I would do is to stack a few layers of VHB tape between the bottom of the keep and the Hall effect sensor to shorten the distance between the magnet and the sensor.
2. The purpose of this locked door detector is to tell if the door has been locked when the owner is out. If I understand it correctly, a multi point locking system refers to a door with multiple deadbolt and maybe multiple locking mechanisms. You really just need to install the Hall effect sensor/magnet pair for the deadbolt that’s responsible for the locking mechanism when you’re out. Not sure if I answered your question…